Sunday, September 23, 2012
Pie Crust in Progress
Many times when you search for gluten free items it's not the things you can't find that are most disappointing. It's the things you find that don't taste good. While it can be delicious once or twice a gluten free ginger snap or "graham" cracker crust does not work for all pies. Those frozen GF pie crusts just don't taste good, and the garbanzo heavy gluten free pastry flours really can't compare. (Am I the only one who thinks garbanzo bean flour smells a bit like diesel fuel?)
To make things clear, if you are looking for an easy pie crust recipe this is not the recipe for you. Yes, this crust tastes good. Yes, this crust will hold together if (and that's a big if) you let it cool long enough. No, I have not perfected this recipe. No, this is not something that you can whip up in 20 min. If you are new to the blog, don't start here.
With the seasons changing (except here in Texas where it is "still summer") pie has been on my mind. Apple pie, sweet potato pie, blackberry pie, and especially pumpkin pie. Next week we are heading out to the pumpkin patch and I wanted a vessel for my roasted pumpkin goodness. (Using canned pumpkin is heresy in my house.) Naturally, I got to work. I did some research (aka looked up about 50 pie crust recipes), figured out some ratios, and then got my hands messy. The result is a tender and flaky crust that has a great taste.
To be clear this is not the pie crust end game. While I am very happy with this "first draft" of sorts, I would love to have something more manageable so I don't yell at every little tear and can transfer it to a pie plate without it being frozen solid. Baby steps, I'll master it soon enough.
You'll need:
307g Brown Rice Flour
77g Sweet Rice Flour
340g Vegetable Shortening
1 egg beaten
75ml Boiling Water
5ml White Vinegar
6g salt
Measure out your sweet rice flour into the bowl of a stand mixer, then turn the mixer on low with the paddle attachment. Slowly add in your boiling water and turn the speed up to medium. This will gelatinize your flour and make it sticky. Perfect for making your crust stable sans xanthan gum. Let that continue to mix while you work.
Measure your brown rice flour and crisco into a separate bowl. Cut the crisco into your flour with a pastry mixer or two knives.
When your brown rice flour and crisco are fully mixed and have the consistency of course meal add in your gelatinized sweet rice flour, egg, white vinegar, and salt. Mix together with a rubber spatula or your hands until it is fully incorporated and can form a ball. Split this ball into 4 smaller balls, Put each in a ziploc or plastic wrap, flatten out your ball to about 1/2" thick, and put it all in the freezer.
After 1hr take out one frozen crust and place it on a well floured surface. (I used the brown rice flour. If you can, do this on a pastry rolling sheet or a cutting board. The crust will be easier to manipulate later if you can freeze the crust again. If the dough is getting tough to roll it also helps to put it back in the freezer for a couple minutes.) Carefully start rolling in even strokes. Don't roll the pin back and forth, start from one end and roll all the way across your dough. Then pick up your pin and start again. Rolling back and forth will make the dough more likely to stick to the pin.
If you can place your dough in the freezer do, for 5 min. After freezing quickly transfer your crust to your pie dish. (I froze it to my rolling sheet and flipped it upside down into my dish.) The edges will most likely break off instead of hang prettily over the sides. That's okay. Crimping a pie crust is purely decorative.
Fill your pie then repeat the rolling process with your top crust if needed.
Feel free to mess with the recipe some. If you want to add some xanthan gum, go for it, xanthan gum just gives me an upset stomach. All I ask is that you let me know what works for you!
Happy eating!
Tori
Monday, August 27, 2012
Preschool, Playdates, and Playdough!
It's that time of year, school has started for most of us now and I get to worry about new adventures, preschool. This is not an easy transition for me. Oh, the Jellybean has been fine. She gleefully said "Bye-bye!", blew the Nerd and I a kiss, and shoved us out the door the first day. She is a learner and will soak up preschool like a sponge. But I worry. She has her allergy alert bracelet. Her teachers are fantastic and soaked up what I had to tell them at our first conference (It helps that I already know them, of course). But preschool seems like a death trap for gluten intolerant or celiac children. Especially minimally verbal ones.
Here are a few tips to help you out if you are going through this too:
Speak up! - You are not being a pushy boss, you are advocating for your child's health. That well meaning room parent that brings in home made gluten free cupcakes didn't know that the residue from her pan would get your little one sick. You know why? You didn't tell anyone. Tell the teacher, write a letter before school starts, make sure other parents are aware so feelings don't get hurt down the road. Then, if something happens, you can politely refuse the very sweet gesture and explain calmly that even tiny bits of gluten can make your little one sick. Make sure the parents do know you appreciate the thought, and they may be able to bring pre-packaged GF treats if they talk to you first.
Offer to help - Playdough, glue, macaroni pictures, finger paint, paper mache, these are all things that will most likely pop up in a preschool classroom at some point. These things are all on the no no list. So offer to make playdough for the class once a month, you can catch the teachers with hooks like "If I know what your current class theme is, I may be able to make the playdough match!" Most teachers will jump at the opportunity to have these things donated. Buy GF pasta for art projects and dye it fun colors. Give your teacher (and administrator because these things cost more) a list of approved gluten free art supplies. Do your research and don't expect them to know everything. You are the expert here.
Step up for class parties - Don't be the parent that just shows up a class party then consoles your screaming kid who can't eat anything. That's not fun for anyone! Offer to make the class cupcakes. Make them all GF. Don't tell anyone unless they ask. They probably won't know the difference now that Miss Betty Crocker has her line of box mixes out. Easy and pretty tasty.
Pack a snack box - Make up a box of approved snacks that your teacher can pick from every week. That way your kid isn't eating Peanut Butter Panda Puffs every day while the other kids get peanut butter and pretzels. I bought a shoebox sized plastic bin and it has a bunch of little ziploc containers in it filled with pretzels, panda puffs, raisins, and other pantry safe items. Include one special thing in there like a brownie or cookies just in case a surprise birthday pops up. We also included a silicone table mat in there. Jellybean is allowed to eat the food that is on her green mat. It prevents her from grabbing off other plates.
Take a breath, and let go - More that likely your kid is going to come home sick a day or two, especially at first. This could stem from gluten contamination, or just from being exposed to so many things at a place that isn't your home. It's hard to see your kid miserable but it's going to happen. Don't go ape on the teacher and they will most likely try that much harder to accommodate for your family's needs. They love being on your team.
Now that all of that is out of the way here's a recipe to help you out!
Gluten Free Playdough
You'll Need:
2c Gluten Free Flour (Most places say rice flour, I used sorghum because I ran out of rice flour. It worked well. Just don't try something too dark like millet or teff... unless you're going for that color. Sweet rice flour also makes the dough very sticky.)
1c Cornstarch
1c Salt
2 Tbsp Cream of Tartar
2 Tsp Vegetable Oil (I've seen olive oil, canola oil, almond oil, etc used on other blogs.)
1c Water
Mix your flour, starch, salt, and cream of tartar well in a medium sauce pan. Add in your oil and water and mix well. Then put it all over medium heat. Cook over medium heat for 5-8 minutes stirring constantly until the dough pulls away from the sides of the pan and can form a ball. Put your dough on a surface dusted with cornstarch and let cool a little then get to kneading. Keep kneading in the cornstarch until your dough is no longer sticky. If it gets a little too stiff add in a bit of water.
At this point you can divide up the dough and color it. Keep the dough in an airtight container and have fun!
Happy
Tori
Wednesday, August 8, 2012
Buttermilk Biscuits
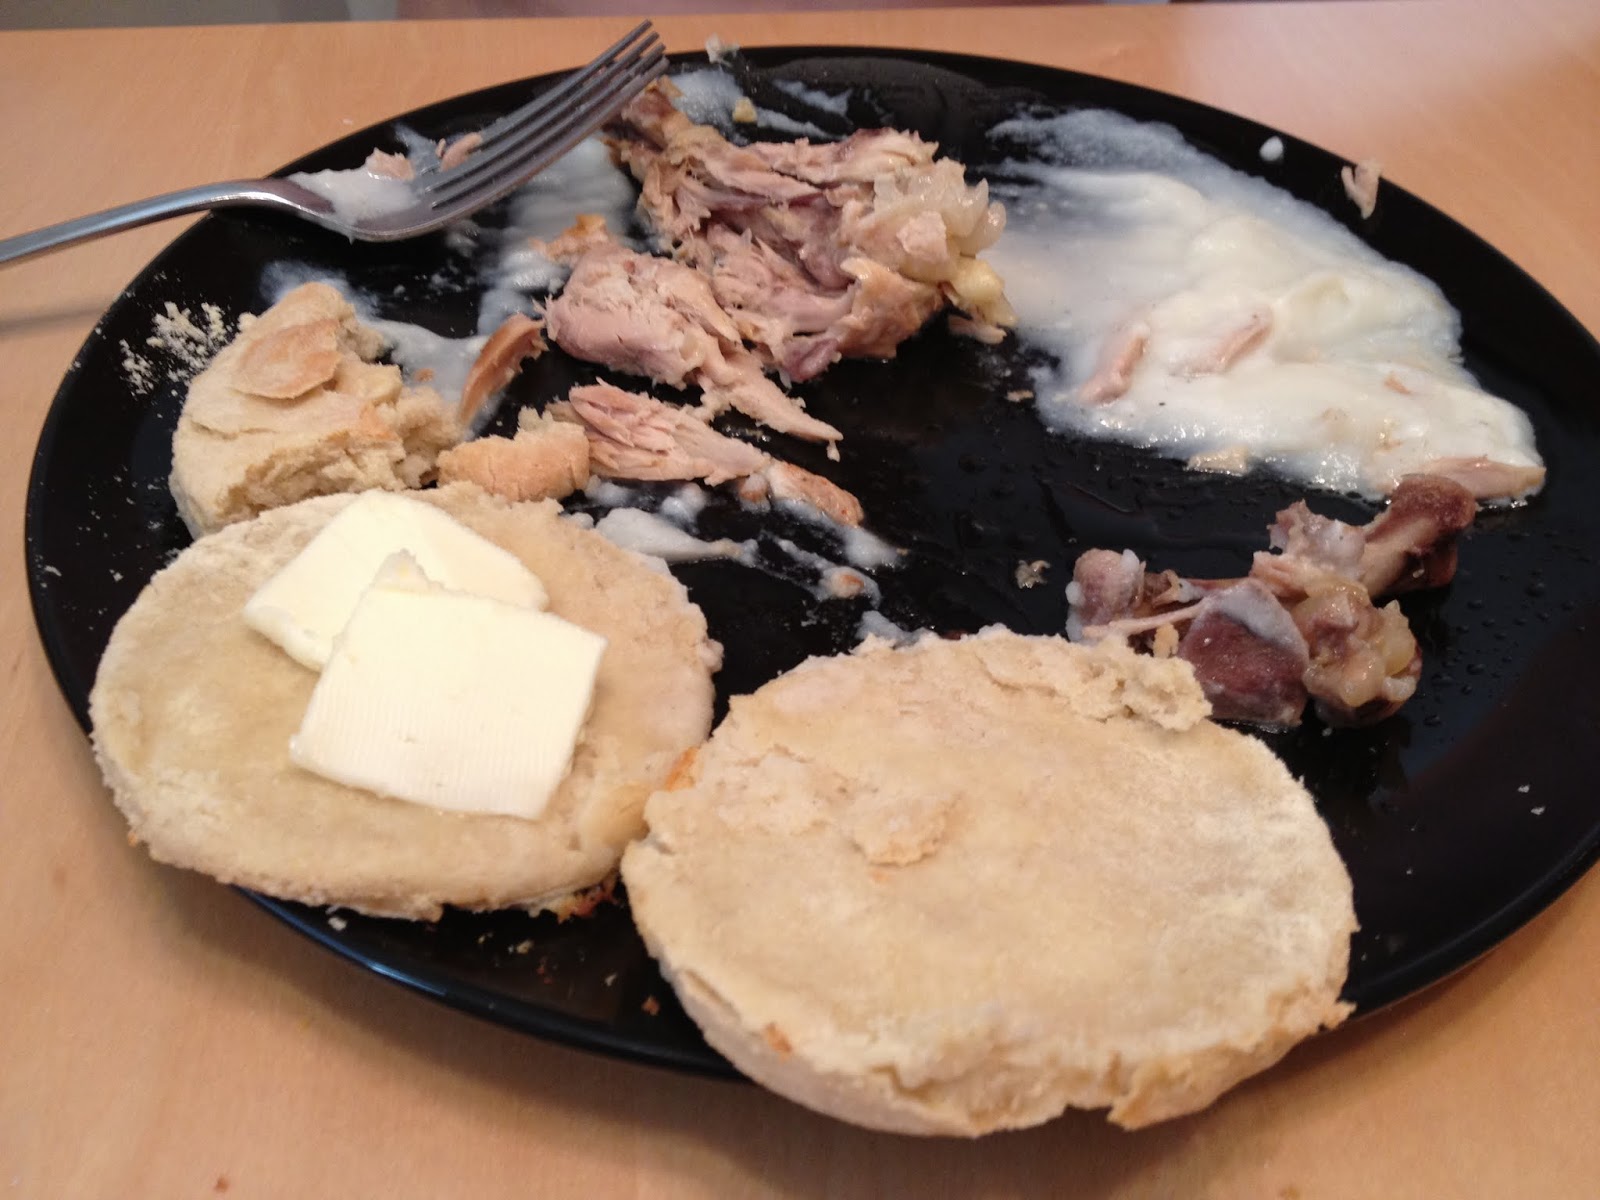
My first attempt, hockey pucks. My second attempt, incredibly thick pie crusts. This last time the old saying "third time's the charm," really played out. Even The Nerd was saying "mmmmm." He went back for seconds!
You'll Need:
102g Brown Rice Flour
65g Sweet Rice Flour
65g Millet Flour
24g Potato Starch
1tsp Kosher Salt
2tsp Guar Gum
4tsp Baking Powder
1/2tsp Baking Soda
56g Shortening
250ml Buttermilk
Preheat oven to 375°
In a large bowl measure out all your dry ingredients. Sift or mix together until the flours, salt, guar gum, baking powder, and baking soda are fully incorporated.
Add in your shortening and then mix together with your hands until it feels like wet beach sand. (If you squeeze it it should hold it's shape somewhat, but will crumble easily. They make tools for mixing shortening into flour called "pastry cutters". You can use one. I don't like them. I cook by feel a lot.)
After your shortening is completely mixed in slowly add your buttermilk in, stirring with a wooden spoon or spatula. Mix until everything comes together, but don't over mix.
Lightly dust a work area with some flour (I used millet flour because I have an abundance of it right now, potato starch would work super well. I do not suggest using sweet rice. It has a grittier texture.)
Pour your dough out onto your work space and then lightly flour. Gently Pat your dough down until it's about 3/4" thick. Just use your hands, a rolling pin is a little bit of overkill. I used a 2" biscuit cutter to cut out biscuit rounds. Bring your dough back together and continue to roll it out until you run out. I got 6 biscuits.
Bake for 20min
or
Bake for 10min then brush with a mixture of melted butter and buttermilk. Bake for an additional 15min. (I know that doesn't equal 20min, they need some extra time due to losing some heat after being taken out of the oven.)
Now make up some chicken, mashed potatoes, and cream gravy and enjoy! Or just slather with butter and jam.
Happy eating!
Tori
Subscribe to:
Posts (Atom)