Monday, April 2, 2012

Week 14 - Home Baked Ham Pt.1


In my family Easter is a BIG deal. I mean Texas sized, lots of people, party at the house, egg hunts, confetti eggs, eat 3 dozen deviled eggs in an hour big deal. I love it. This is the holiday when my family really shines. You see once upon a time we hosted a couple guys from Zambia that were part of an A Capella choir. So for Easter my mom invited the WHOLE choir over and their host families. At the time that meant about half of our church was over at our house. It was a huge hit of a party (or so I assume because we've had one almost every year since) and the party became a yearly tradition. I was about 4 or 5 at the time so I don't even remember Easter without a party.

This year the torch has been passed and Easter is going to be hosted by my little family! Last year I tried to make a ham. It turned out okay. I wanted to brine it, but much like corned beef ham without saltpeter is well.... gray. It was a bit like a giant pork chop. It tasted fantastic, the glaze was delicious, it was not "ham". I know that to get the precise hammy flavor of the store bought guys you really need a smoker. We are renters. Smokers are expensive and hard to move. That will have to wait a few years. So this year I went on to Amazon and bought some Prague powder #1/instacure #1 (because it's made for curing meats and is close to saltpeter, which is seemingly only sold as stump remover) and we are trying again. If you want to brine a ham here's how to start.

You'll need:
15lb RAW Ham (The only place we can find them is Whole Foods. You ask the guy at the "normal" grocer and they will laugh at you. Then call their boss over. He will also laugh and tell you where the precooked hams are.)
4qts Water in a Pot (I did 4qts because I have a 5qt stock pot)
2 c Salt
4 1/2 c Dark Brown Sugar
1 Tbsp Allspice Berries
1 Tbsp Cloves (I was a little sparing on the cloves because the butcher had already put cloves on the ham)
2 tsp Mustard Seeds
2 Broken Cinnamon Sticks
3-4 Crushed Bay Leaves
~2 tsp Prague Powder (It says on the bag 5 tsp/25lb. I took 5 divided by 25 then multiplied by the weight of my ham. I needed 2 1/3 tsp. I would do maths for exact amounts.)
~4lbs Ice
~6qts Extra Water

In your stock pot combine water, salt, sugar, spices, and Prague powder over high heat. Bring to a boil and stir, stir, stir until everything is dissolved.


In a big ol' container pour a bunch of ice. We took the container of our ice maker and just poured it all into a Rubbermaid storage box. Then pour in your brine and stir until the ice is melted or until you can't see it melting any more. We still had ice left.

It's time to put in your ham. After putting it in cover it completely with water, we needed 6 more quarts. Then put it all in the fridge and let it sit for (preferably) 10 days. If you hit a snag and have to start 6 days before don't worry. It should be okay.

Next week: Baking the ham and making deviled eggs!

Happy eating Easter!
Tori

Saturday, March 24, 2012

Week 13 - Pasta

Pasta is a staple that everyone loves in some form or fashion. Whether it be penne in a Cajun spiced Alfredo sauce, macaroni and cheese, or good ol' basic spaghetti. It's a natural comfort food. It's also an ingredient the average home cook takes for granted. I know I did. It always seemed like this magic and mystical thing you must buy from a box. Boy was I wrong. Not only is home made pasta fairly easy (I'm sure having some actual pasta equipment would help even more), it is delicious.

You need to have a stand mixer for this recipe. I would also recommend buying at the very least a pasta roller. I hand rolled everything. It was too thick, although the noodles would have been great in chicken soup!

You'll Need:
200g Sweet Rice Flour
150ml Rapidly Boiling Water
2 large Eggs
150g Millet Flour
50g Tapioca Flour
1tsp Salt
15ml Olive Oil

Put a paddle attachment on your stand mixer, if you have one of the fancy scraper ones I think it would work better than the original.

In the bowl for your mixer measure out your sweet rice flour.

In a SEPARATE bowl measure out your millet flour, tapioca flour and salt.

In yet another bowl slightly scramble your eggs.

Turn your mixer on at it's lowest speed (on the Kitchen Aid that is "stir") then pour your boiling water into your sweet rice flour. let that mix and mix and mix until the bowl is cool to the touch. (this does something to the starch and adds stability, I don't understand all the chemistry but it's called gelatinizing.)

Slowly add in your egg in three parts, wait for the eggs to fully incorporate before adding more.

In three parts add in your flour mixture.

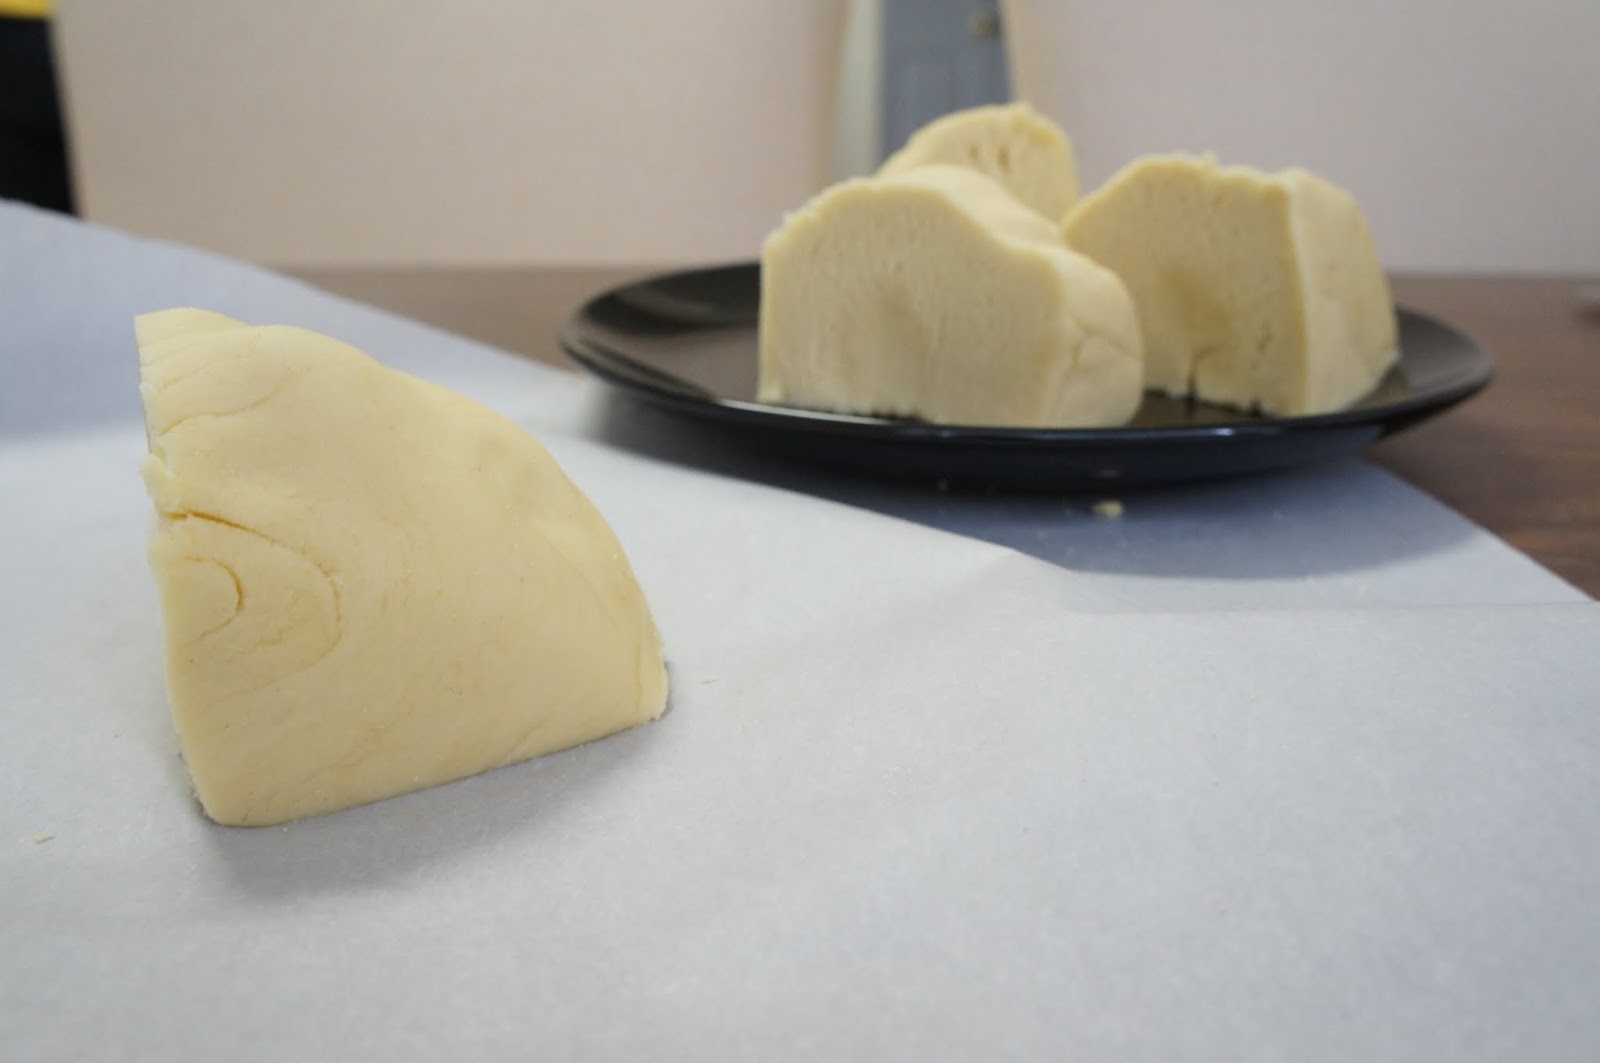
Once completely incorporated add your olive oil. It should come together into a nice dough that will lift with your paddle.

Split your dough into four even pieces. Cover the three pieces your are not rolling out with a clean damp kitchen towel. Because there is no gluten in this dough there is no need to let it rest, so get rolling. If you are rolling by hand have parchment and extra sweet rice flour handy. You will get an arm work out. If you are using a pasta machine then follow the instructions provided until I can get my pasta attachment and play with it. Then I can give better instructions.

All that's left is cutting the pasta into the desired shapes. We made noodles and mezza luna ravioli. The cooking time is going to vary greatly depending on your pasta shape. Just make sure to salt your cooking water like the ocean.

Ravioli Filling: (All approximate)
15oz Ricotta Cheese
4oz Chavrie Goat Cheese
1/4c Parmesan
1/2c Shredded Mozzarella
1 clove of garlic minced and turned into paste (mince then sprinkle on 1/4 tsp salt. Let sit for 20min. Using the flat of the blade on a large chefs knife smoosh and scrape the garlic until it turns into a paste.)
1/2c Fresh chopped spinach

Use an egg wash to seal your ravioli. Make sure to press out all air bubbles or the pasta will burst and you will have very cheesy water.

Happy eating!
Tori

Friday, March 16, 2012

Week 12 - Corned Beef


Happy St. Patrick's Day! This week I tackled iconic St. Patrick's day fare, corned beef and cabbage. The cabbage part had me cringing as well, but have no fear it is beyond tasty. If you are wanting to make corned beef tomorrow then this is not the recipe for you. We get to start all the way from the beginning. With the brisket and some brine.

First You'll need:
2 quarts water
1 cup kosher salt
1/2 cup brown sugar
1 cinnamon stick, broken
1 teaspoon mustard seeds
1 teaspoon black peppercorns
8 whole cloves
8 whole allspice berries
 2 bay leaves, crumbled
1/2 teaspoon ground ginger
2 pounds ice

Combine everything except the ice in a stock pot over medium heat. (If you want to have pink corned beef also add 2 Tbsp salt peter. I couldn't find any in time) Stir and simmer until all the sugar and salt have dissolved. Then pour over ice into a large bowl and stir until all the ice has melted. Put your brine in the fridge and then trim the fat off of a 4-5lb brisket while that cools even more.

Put your brisket in a large container and cover fully with the brine. Alternatively put it all in a large zip-top bag. Put in the fridge and let brine for 7-10 days. Check on your beef daily to make sure it stays covered with the brine, turn it if it floats slightly. This way the brine will be evenly distributed.

Then You'll Need:
Your Cured Meat
1 Large Onion Cut in Half then Sliced Thin
2 Carrots Chopped
1 Rib Celery Chopped
1/3 Head of Cabbage Sliced into Shreds

Remove your meat from the brine and rinse well under cold water. Place your meat in the bottom of a large stock pot. Add in your onion, carrots, celery, and cabbage. Then cover with water. (My water didn't make it over the cabbage. I need a bigger pot.)

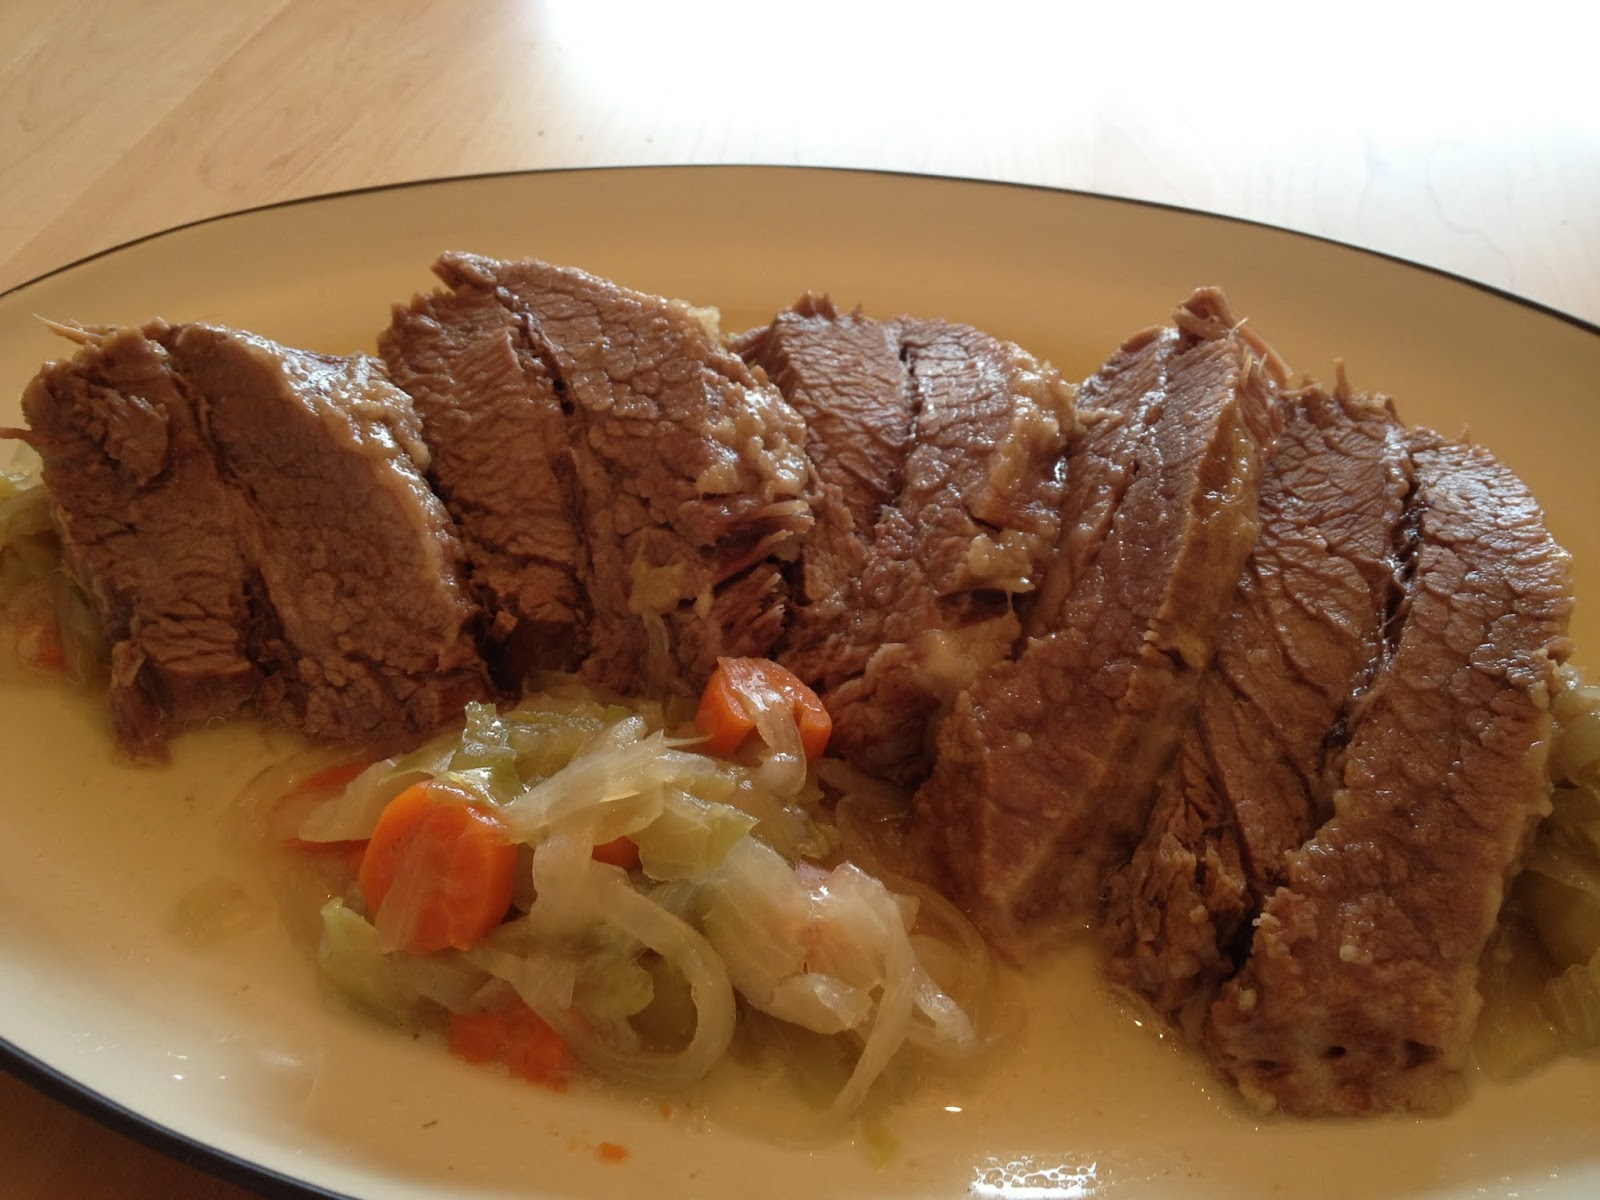
Bring water to a rapid boil then cover and reduce heat to low and simmer for 3 hours. Remove the meat, let it rest, then cut portions against the grain.

This meal takes some forethought and prep work but it is definitely worth it. Even my picky little sister cleared her plate!

Happy Eating!
Tori